Step 1: Open Your Hosting Dashboard
From your Help.com Dashboard, click on the Hosting tab and select your active hosting service.
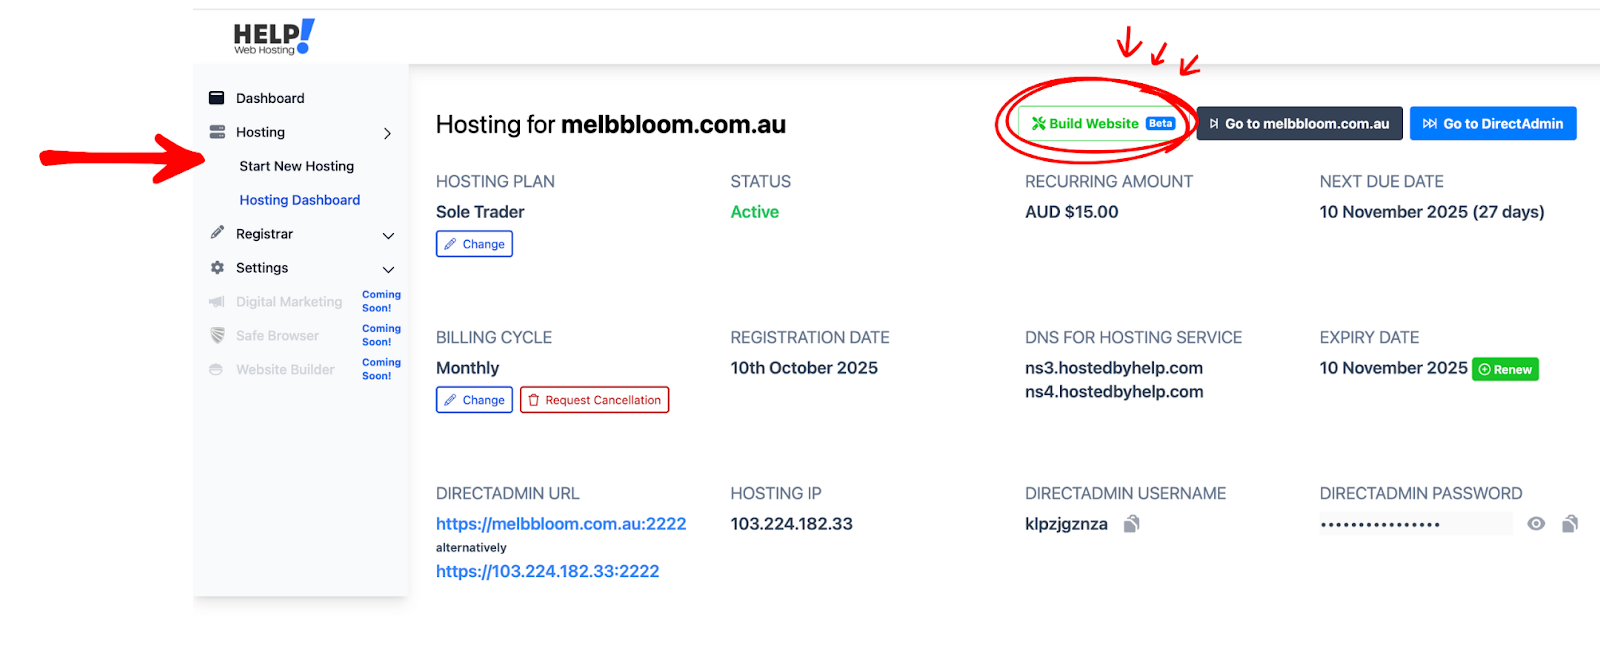
On the top-right corner of your Hosting Dashboard, click “Build Website.”
Step 2: Provide Basic Business Details
Before we start building, the AI will ask a few short questions to better understand your business.
You’ll be asked for:
- Your business name and short description
- Company address, phone number, and contact email
- Any social media links you want included
Once complete, click “Build and Publish My Website.”

Step 3: Wait While Your Website Builds
The AI will now begin creating your website.
This process usually takes 5–10 minutes. Once completed, you’ll receive an email confirmation letting you know your website is ready.
You can also explore the WordPress resources listed below the builder to familiarise yourself with how WordPress works.

Step 4: View the Completion Page
After receiving the confirmation email, you’ll see a Congratulations page with two buttons:
- Green Button – “See My Website”: View your live, published website.
- Blue Button – “Go to WordPress Dashboard”: Access your WordPress dashboard to edit or customise your website.

Step 5a: Viewing Your Live Website
Click “See My Website” to view your new live site.
This version is visible to anyone on the internet, your digital identity is now online.
Step 5b: Editing Your Website in WordPress
To make further changes, such as updating images, text, or your theme click “Go to WordPress Dashboard.”
This is where you can manage, refine, and personalise your website over time.