Before continuing with this guide, ensure you're logged into DirectAdmin and viewing the main dashboard.
If you're not sure how to access DirectAdmin from your Help.com account, please follow our step-by-step guide here: https://support.help.com/how-to-log-into-directadmin
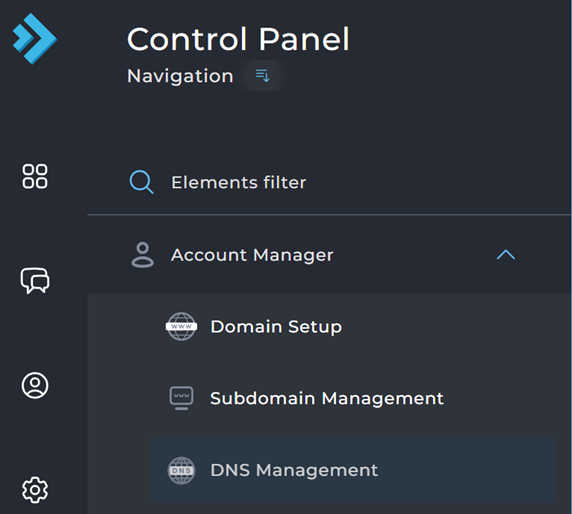
Step 1: Access DNS Management
Log into DirectAdmin → Account Manager section → click DNS Management.
Step 2: View Current Records
You’ll see a full list of all DNS records for your domain.
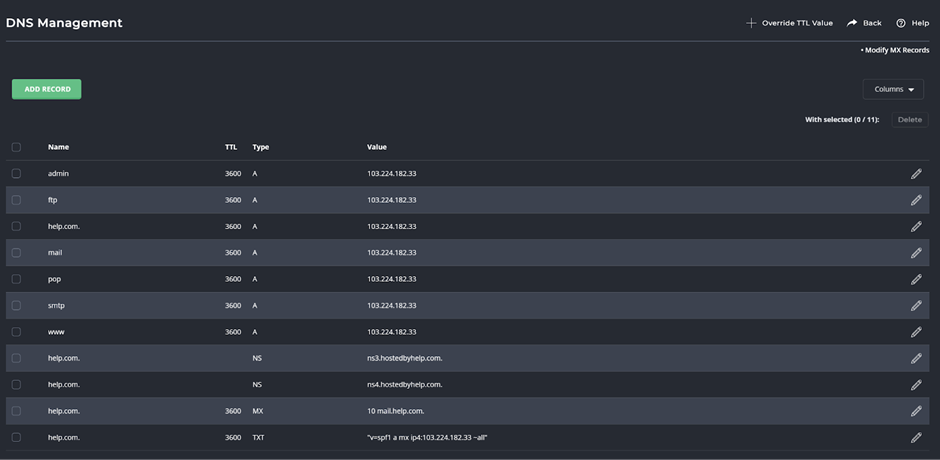
Step 3: Add a New Record
Scroll to the top Add Record section:
- Name: Enter the hostname.
- Type: Choose the record type (A, CNAME, MX, TXT, etc.)
- Value: Enter the target (IP, domain, etc.)
- TTL: Leave default unless you know otherwise Click Add.
Step 4: Edit an Existing Record
Find the record in the list → click the pencil icon on the right → make changes → Save.
Common Record Types
- A: Points a hostname to an IP address (e.g., @ or www → your server IP)
- CNAME: Aliases one name to another (e.g., blog → yourdomain.com.)
- MX: Email routing (e.g., value like mail.yourprovider.com)
- TXT: Verification strings (e.g., SPF, Google verification)
- NS: Nameservers (only change if switching DNS providers)
Changes take up to 48 hours to propagate worldwide.